The Ultimate Guide to Environmental Photography (With a Dash of Humor)
If you’ve ever stared at a breathtaking sunset or watched a squirrel dart across the forest floor and thought, “I could totally make this look epic,” then environmental photography is for you. It’s not just about capturing beautiful landscapes—it’s about telling the world’s most dramatic stories through your lens. And let’s face it, if you can make a rock look cool, you’re basically a wizard. Ready to learn how? Let’s dive in!
1. What Even Is Environmental Photography?
Environmental photography sounds like one of those highbrow terms that makes you nod thoughtfully in art galleries while secretly Googling the definition. But don’t worry, we’ve got you. It’s basically the art of photographing the environment around your subject, not just focusing on the subject itself. That could be anything from majestic mountains to a grumpy-looking squirrel, as long as the environment plays a key role in the image.
It’s all about context—showing how things interact with their surroundings, whether it’s a person fighting a fierce wind or a tree standing stoic through a storm. Bonus points if you manage to make the tree look more dramatic than a Hollywood movie.
2. Preparing for Your Shoot (Because You Can’t Just Wing It)
a) Research Your Location (Google Is Your Friend)
Sure, you could just show up at a random park and hope for the best, but let’s be real—unless you’re in a nature documentary where you actually have a crew to make things happen, a little preparation goes a long way.
Pro tip: Check out Google Earth, Pinterest, or local hiking blogs (because nothing says “professional” like taking advice from someone with a DSLR strapped to their backpack in the wilderness). Understand the landscape, lighting, and even the weather! If you can figure out the best time to shoot, you’ll be halfway to masterpiece status.
b) Know Your Subject (Yes, That Means the Squirrel Too)
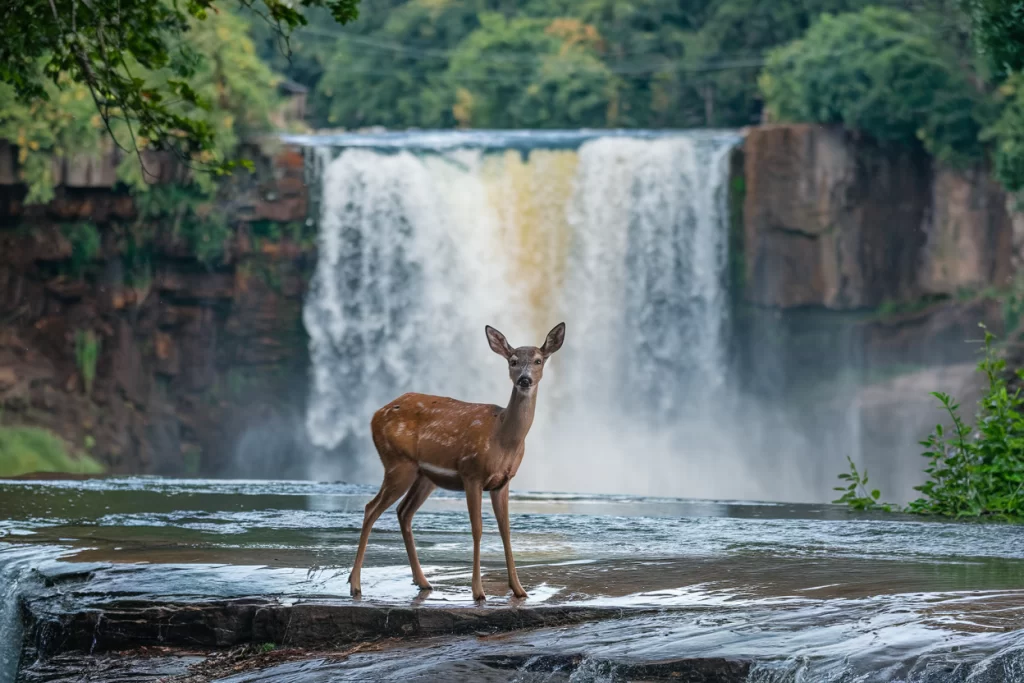
When it comes to wildlife or people in their natural habitats, you need to understand their behavior. Sure, snapping a picture of a majestic deer in a meadow sounds easy—until it bolts the moment you try to snap a shot. So, get to know your subject. Is it a bird? Great, don’t expect to take that perfect photo of it mid-flight without a lot of patience (and probably a cup of coffee). Is it a hiker standing proudly atop a mountain? Sure, they’re not going anywhere, but that doesn’t mean they’ll appreciate you throwing a lens in their face.

3. Light: The Secret Sauce of Photography (And Yes, We Mean Sunlight)
Remember the time you tried to take a selfie in the middle of the day, and you ended up with a squinting face and shadows that made you look like you were auditioning for a horror film? Yeah, sunlight is tricky. Let’s make it your friend instead.
a) Golden Hour: The Time When Everything Looks Magical
Golden hour is basically the Hollywood of photography. When the sun is lower in the sky, everything looks warmer, softer, and more ethereal. Your photos will go from “meh” to “wow, I’m definitely framing this and putting it on my wall” in no time. Even a rock will look like a mystical treasure at golden hour. Trust me.
b) Overcast: When the Sky is Your Softbox
Cloudy days are the best-kept secret of environmental photographers. Overcast skies act like a massive, natural softbox, giving you smooth, even lighting. No harsh shadows, no blown-out highlights. It’s like your camera and the weather decided to collaborate on a masterpiece. Perfect for lush forests, waterfalls, and those scenic “just hanging out in nature” vibes.
c) Midday Sun: The Enemy of Cool Shadows
The sun is directly overhead, and you’re stuck with harsh shadows. Your subject? A silhouette. Your background? Blown out. But hey, if you’re feeling brave and want to work with dramatic contrast, go for it! You might just make that blazing sun work in your favor—just be ready to adjust your settings like a professional.

4. Composition: Making Your Photos Look Fancy Without Trying Too Hard
Good composition is like good manners—it’s essential but shouldn’t be overdone. Keep it simple, and let your surroundings tell the story.
a) Rule of Thirds: Because Perfect Symmetry is Overrated
If you’re looking to take the perfect landscape shot where everything is centered, remember: it’s the rule of thirds, not the law. Placing your subject off-center creates a sense of balance, drawing the viewer’s eye into the image. Think of it as your photo’s version of “don’t put all your eggs in one basket.”
b) Leading Lines: Let the Path Take You There
Have you ever walked down a winding road or trail and felt like you were about to discover some hidden treasure? Use those natural lines (paths, rivers, fences) to lead the viewer’s eye into your photo. It’s like giving your audience a guided tour of your shot, without the annoying tour guide.
c) Framing: No, Not Like an Arrested Criminal
Using elements in the environment to frame your subject—like archways, branches, or even a giant rock—is like giving your subject VIP access. It adds depth, makes the image pop, and lets the viewer know, “Hey, I thought about this composition more than just clicking the shutter randomly.”
5. Showcasing Scale (Because Size Does Matter)
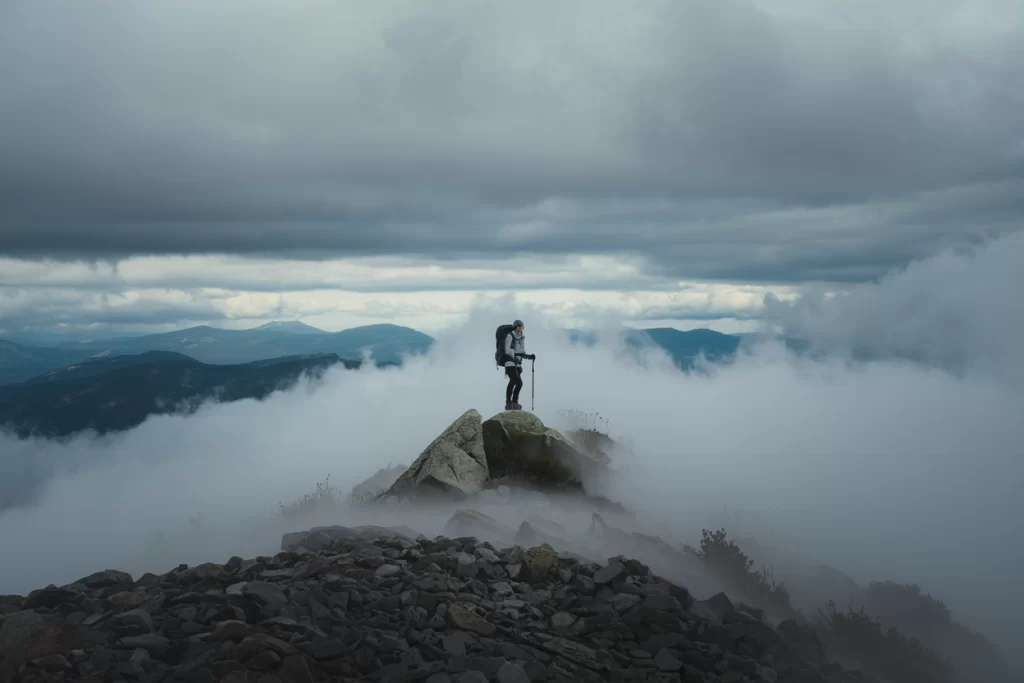
When you’re photographing massive landscapes or towering trees, it can be hard to convey just how enormous everything is. Adding a person or animal into the shot gives your viewers something to compare the size to. Suddenly, that 100-foot waterfall seems even more majestic.
Example: A tiny person in front of a vast mountain range? Yeah, they’re basically a speck, but they’ll help your photo tell the story of scale and awe.

6. Gear Talk (No, You Don’t Need to Spend Your Life Savings)
a) Camera
You don’t need the fanciest gear to get amazing shots, but having a camera that lets you manually adjust settings is pretty important. DSLR or mirrorless? Sure. But don’t count out your phone—yes, phone cameras these days are pretty powerful too. Just don’t expect it to perform like a $3,000 setup.
b) Lenses
Wide-angle lenses are your best friend in environmental photography. They let you capture all that stunning scenery in one frame. But if you’re shooting wildlife from afar, a telephoto lens will help you get those close-up shots without chasing the animal through the woods.
c) Tripod
Okay, you can totally take handheld shots, but if you want those silky waterfall shots or perfectly sharp night skies, a tripod is non-negotiable. Plus, it gives you an excuse to take a break and snack while your camera does the heavy lifting.
7. Respecting Nature (Because We Need It)
This is where the humor takes a backseat, and we remind ourselves that environmental photography is about more than just cool pictures. It’s about respect. Stick to trails, don’t disturb wildlife, and leave no trace. Trust us, you don’t want your beautiful shots to come with an environmental guilt trip.
8. Editing: The Secret Behind Every “I’m an Artist” Photo
You’re not cheating by editing your photos, you’re enhancing them—like putting a little filter on your latte. Use Lightroom or Photoshop to adjust exposure, contrast, and saturation, but don’t go overboard. Remember, subtlety is key—unless you’re going for that “I took this photo with a fog machine and a disco ball” effect (which is a valid choice, just not one I’d recommend for nature).
9. Final Thoughts: Making Nature Look Good (No Pressure)
Environmental photography is like telling a story with your camera. You get to show the world how you see it and share moments of awe, humor, and beauty. Whether you’re capturing a majestic mountain or a squirrel stealing your lunch, there’s always a story worth telling.
So get out there, find your light, and don’t forget to have fun along the way! Because, in the end, the best photos come from the moments you didn’t expect, the places you stumbled upon, and the joy of just being in the wild.

