Capturing the Glow of Outdoor Christmas Lights: A Guide to Nighttime Magic
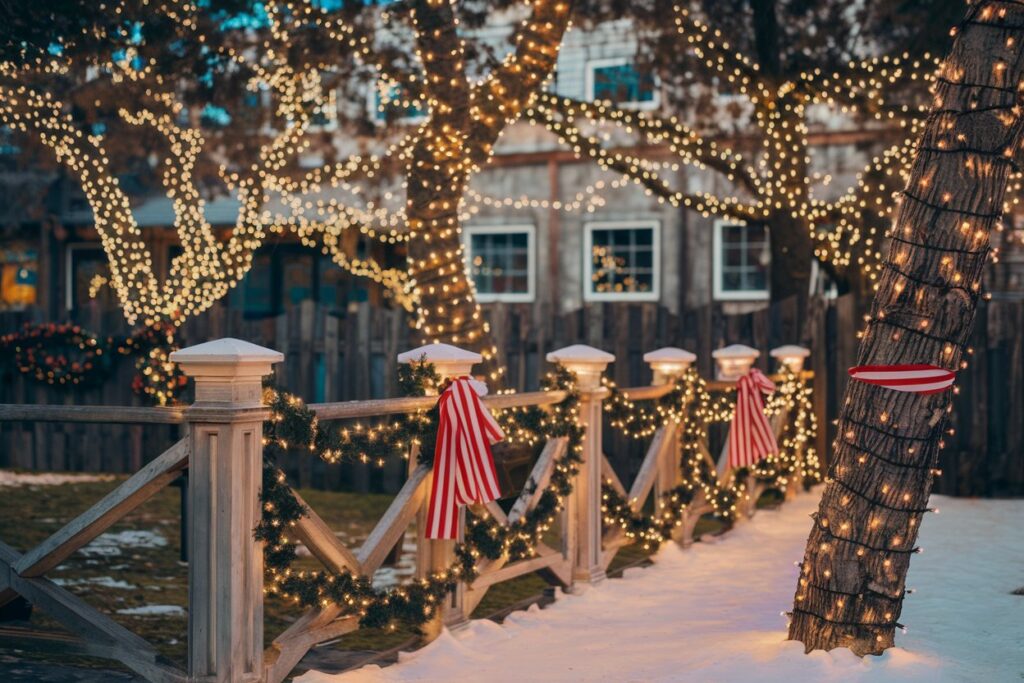
Introduction: The Joy (and Chaos) of Christmas Light Photography
Outdoor Christmas lights are a feast for the eyes and a minefield for photographers. There’s something magical about the twinkling glow of festive decorations that warms the heart—even when your fingers are frozen to your camera. Whether it’s your neighbor’s over-the-top light show or a tastefully lit gazebo in the park, capturing their radiance in photos can be as tricky as wrapping presents with one hand. But fear not! This guide will light the way, pun fully intended.
The Tools of the Trade
Before we dive into techniques, let’s talk gear. The right equipment can make all the difference between photos that dazzle and ones that scream, “I took this on my potato phone.”
- Camera Options:
- DSLRs and mirrorless cameras are ideal. They allow you to manually control settings and have excellent low-light performance.
- Smartphones have come a long way. If your phone has a “Night Mode,” you’re already ahead of the game.
- Lenses:
- A fast prime lens (like a 50mm f/1.8) is your best friend for nighttime photography.
- Wide-angle lenses are great for capturing entire displays, while zoom lenses can focus on specific features like that one blinking reindeer.
- Tripod:
- If you don’t have a tripod, are you even trying? A steady camera is crucial for long exposures. No tripod? Improvise with walls, fences, or a very patient friend.
- Extras:
- Remote shutter release or a timer to avoid camera shake.
- Warm gloves with touchscreen tips because frostbite isn’t festive.
Finding the Perfect Scene
The first step is scouting locations. Not all Christmas lights are created equal, and some displays may look more “drunken holiday chaos” than “winter wonderland.” Here’s how to choose:
- Seek Variety: Look for displays with a mix of colors, shapes, and lighting patterns. Too much of one thing (especially blue lights—why are they always so harsh?) can be overwhelming.
- Golden Hour Glow: Arrive just after sunset during the blue hour. The sky’s deep blue provides a perfect backdrop without total darkness swallowing everything.
- Check Your Neighbors’ Lights: Bonus points if their efforts inspire envy. Just don’t get caught on their lawn with your tripod—it’s awkward.
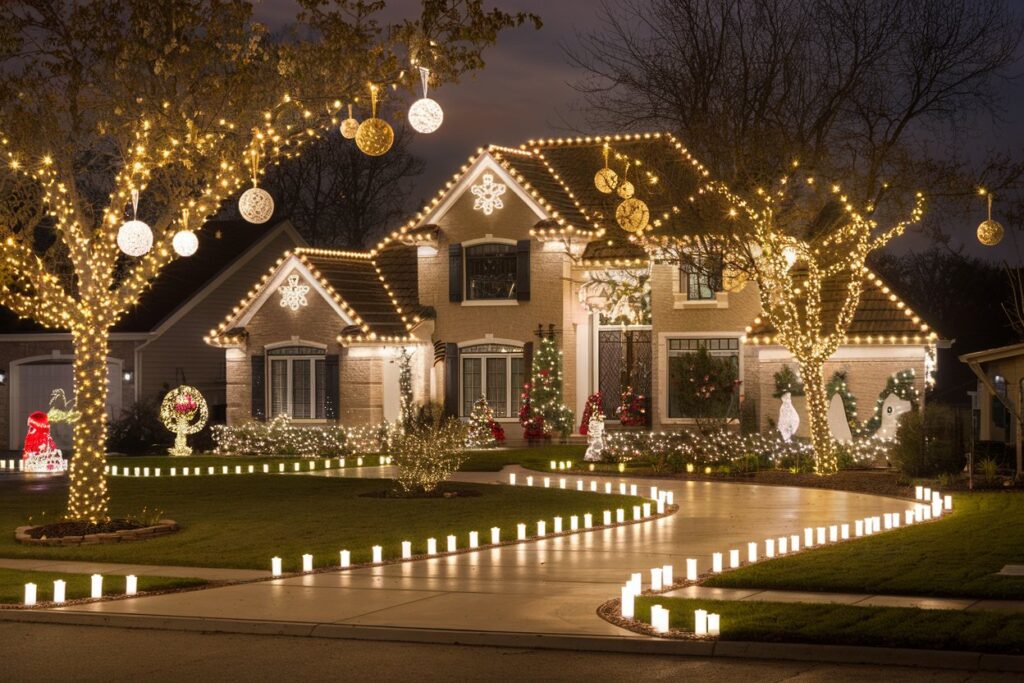
Camera Settings: Unlocking the Magic
Capturing the glow of Christmas lights involves a bit of trial and error, but these settings will help you get started.
- Aperture:
- Use a wide aperture (f/1.8–f/4) to let in more light and create beautiful bokeh in the background.
- For sharper details across the scene, go with f/8 or higher, but compensate with a longer exposure.
- Shutter Speed:
- A slower shutter speed (1–10 seconds) is key to capturing enough light.
- For moving lights (like those annoying flashing ones), experiment with shorter speeds to freeze the motion.
- ISO:
- Start at ISO 400 and adjust as needed. Too high, and your picture will look like it was attacked by digital noise gremlins.
- Focus:
- Switch to manual focus to avoid your camera hunting endlessly in the dark.
- Zoom in on a bright light to set your focus, then lock it in.
- White Balance:
- Use “Incandescent” or “Tungsten” to neutralize the warm tones of Christmas lights.
Techniques for the Glow-Up
Now that your camera is ready, let’s turn those average snapshots into glowing masterpieces.
- Master the Long Exposure:
- Find a stable surface or use a tripod. A long exposure smooths out harsh light transitions and adds a dreamy effect.
- Use Reflections:
- Seek out puddles, windows, or shiny car hoods for creative reflections. Just watch where you step—falling into a puddle doesn’t enhance your artistic vision.
- Play with Perspectives:
- Shoot from low angles to make the lights look larger-than-life.
- Tilt the camera slightly for a whimsical feel—perfect for whimsical displays.
- Frame with Foreground:
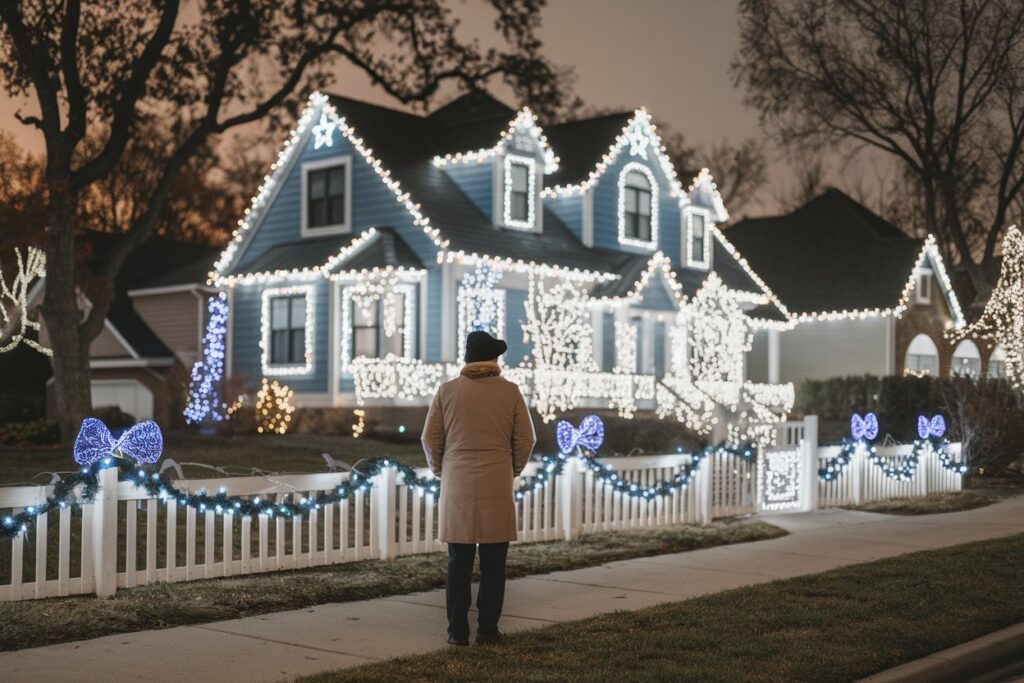
- Use tree branches, fences, or even someone holding a steaming mug of cocoa to add depth and context to your shot.
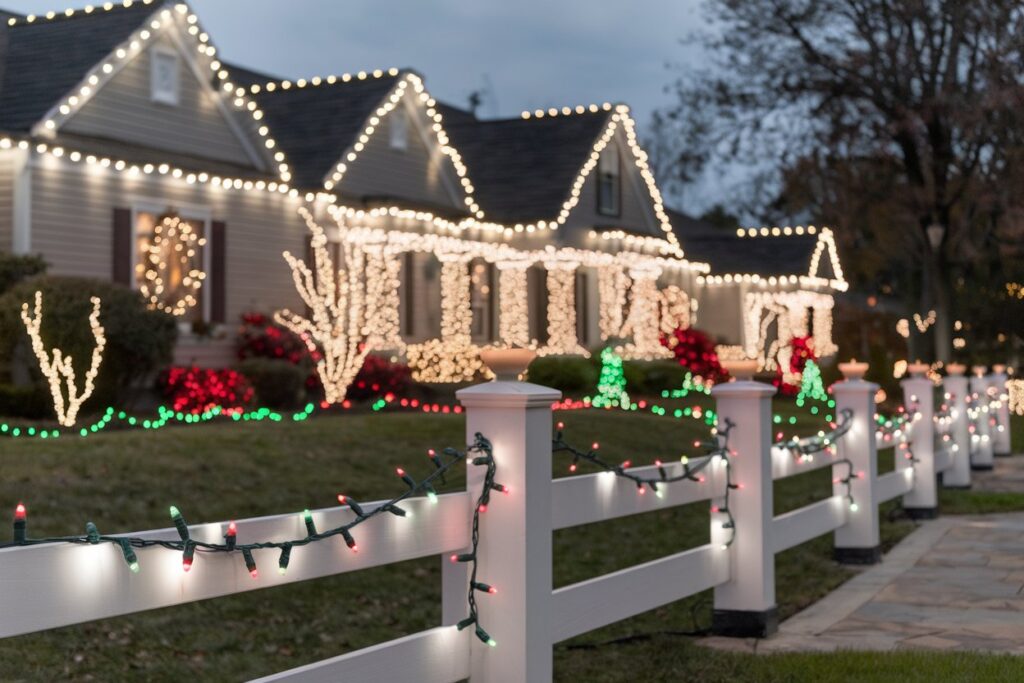
Avoiding Common Pitfalls
Christmas light photography isn’t without its challenges. Here’s how to troubleshoot the most common issues:
- Overexposed Lights: If the lights look like nuclear explosions, decrease your exposure time or ISO.
- Underexposed Backgrounds: Try layering multiple exposures in post-processing to balance the brightness.
- Too Much Noise: Reduce your ISO or apply noise reduction during editing.
Getting Creative
Photography is about more than just documentation—it’s about telling a story. Here are some fun ideas to elevate your shots:
- Light Trails:
- Capture the motion of cars passing by festive displays. Use a 10–30 second exposure for dramatic streaks of light.
- Bokeh Bonanza:
- Blur the lights intentionally for a dreamy, out-of-focus effect. Bonus points for shaped bokeh filters that turn lights into stars or hearts.
- Silhouettes:
- Position a subject (tree, person, or giant inflatable penguin) against the lights to create striking silhouettes.
- Zoom Burst:
- While shooting, twist your zoom lens during a long exposure to create an explosive light effect. Pro tip: practice this one before the cocoa kicks in.
Editing for Extra Sparkle
Even the best photos can benefit from a little editing. Use software like Lightroom or Photoshop to tweak your images.
- Adjust Brightness and Contrast: Bring out the glow without losing detail.
- Enhance Colors: Boost saturation or vibrance for that extra festive pop.
- Reduce Noise: Use noise reduction tools to clean up your image.
- Crop and Straighten: Sometimes the perfect photo needs a little trimming.
Humorous Moments Behind the Lens
No photography session is complete without a few hilarious mishaps. Whether it’s stepping on someone’s inflatable elf or accidentally photobombing a couple’s proposal, the stories behind the photos often become the best part. Remember, it’s all part of the fun!
Conclusion: Light It Up
Capturing the glow of outdoor Christmas lights is as rewarding as it is challenging. With the right tools, techniques, and a sprinkle of creativity, your photos can transform simple holiday displays into works of art. And if all else fails, just enjoy the moment—you can always blame blurry photos on “artistic intent.”

