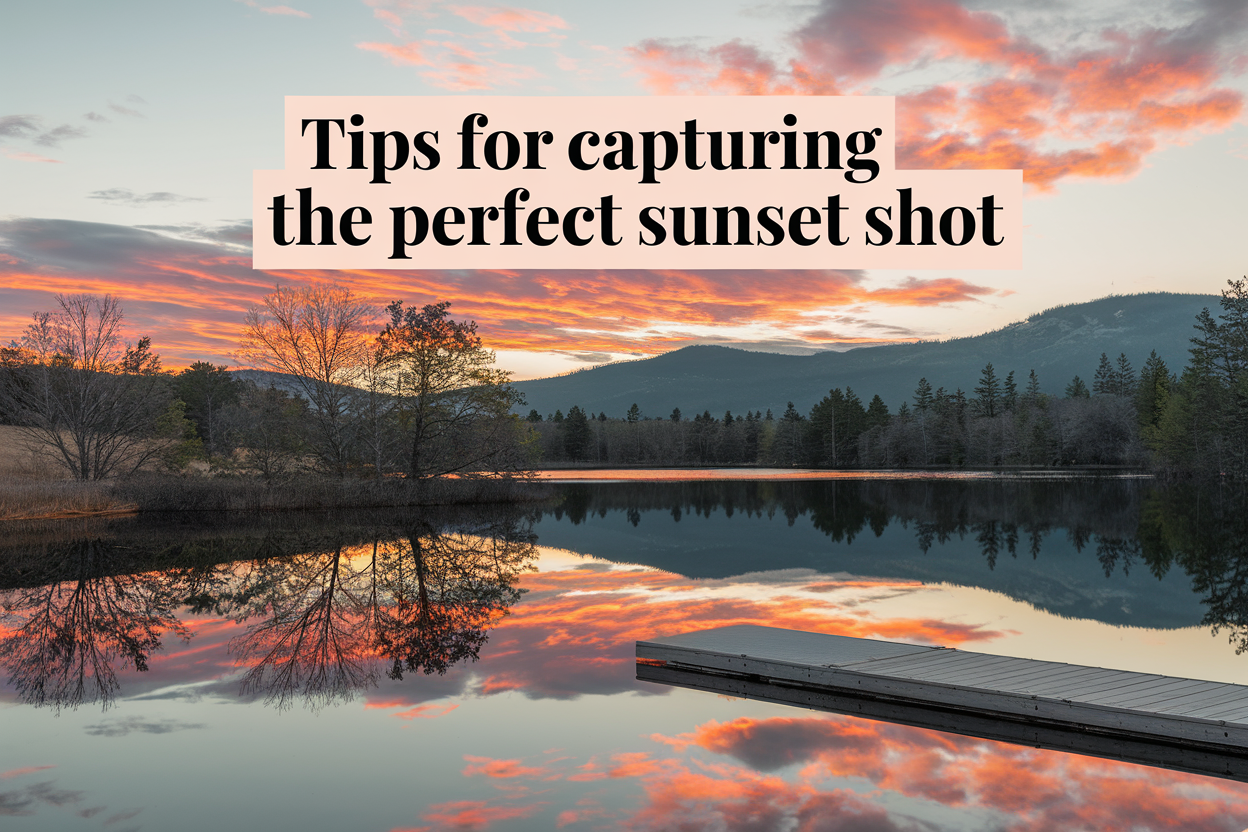
Capturing the perfect sunset shot is an art that requires a combination of technique, timing, and an appreciation for nature’s beauty. Whether you are a seasoned photographer or a beginner, sunset photography offers a wide array of opportunities to create stunning, atmospheric images. In this guide, we’ll explore everything from the best times and locations to tips on settings, composition, and editing.
1. Understanding Sunset Lighting
The key to capturing a beautiful sunset is understanding the unique lighting conditions that occur during this time. The “golden hour” refers to the period shortly before and after sunset when the sun is low in the sky, and the light is soft, warm, and diffused. This time offers a variety of lighting effects that can enhance your images, creating dramatic shadows, vibrant colors, and smooth gradations in the sky.
Types of Sunset Light:
- Golden Light: The warm, soft light during the first and last hour of daylight is perfect for creating a soft, glowing effect on your subject.
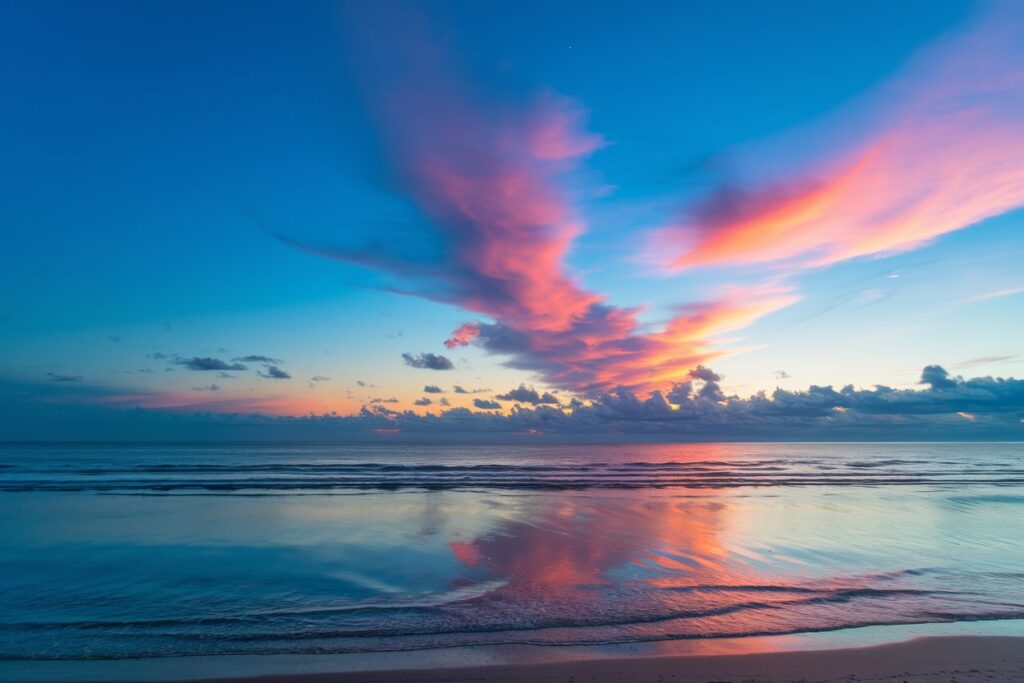
- Blue Hour: This occurs after the sun has set but before it’s completely dark. It’s marked by cool, blue tones and soft lighting, offering a more ethereal and serene atmosphere.
- Harsh Light: Just before sunset, the light can be more direct and harsh, but it can create dramatic contrast if used correctly.
2. Best Time for Sunset Photography
Knowing when to shoot is crucial. The precise timing of the sunset will vary depending on your location, the time of year, and weather conditions. However, here are some general guidelines for optimal timing:
- Arrive Early: The best sunset photos often happen during the “golden hour” before the sun hits the horizon. Plan to arrive at your location at least 30 to 45 minutes before the scheduled sunset.
- Stay After the Sun Sets: Some of the most dramatic colors appear right after the sun dips below the horizon, so don’t pack up your gear immediately after the sun has set.
- Use a Sunset Timer App: Several apps provide exact sunset times based on your location, helping you plan your shoot.
3. Choosing the Right Location
Your choice of location plays a significant role in the quality of your sunset photo. The best spots to capture a sunset include:
- Beaches: An unobstructed view of the horizon, along with the reflection of the sun on the water, makes beaches an ideal location.
- Mountains & Hilltops: High vantage points allow you to capture expansive landscapes with the sun setting behind distant features.
- Urban Areas: A sunset framed by city skylines can be breathtaking, especially when the sun casts a warm glow over buildings and streets.
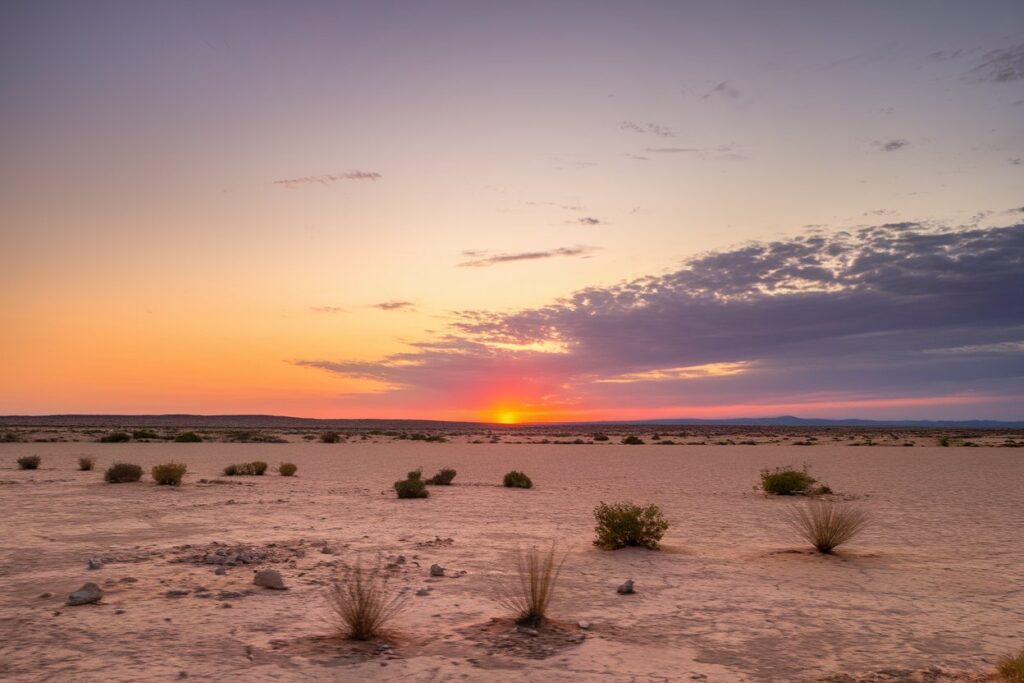
- Open Fields or Desert Landscapes: A wide-open space with few distractions creates a minimalist aesthetic, where the focus is entirely on the sky and light.
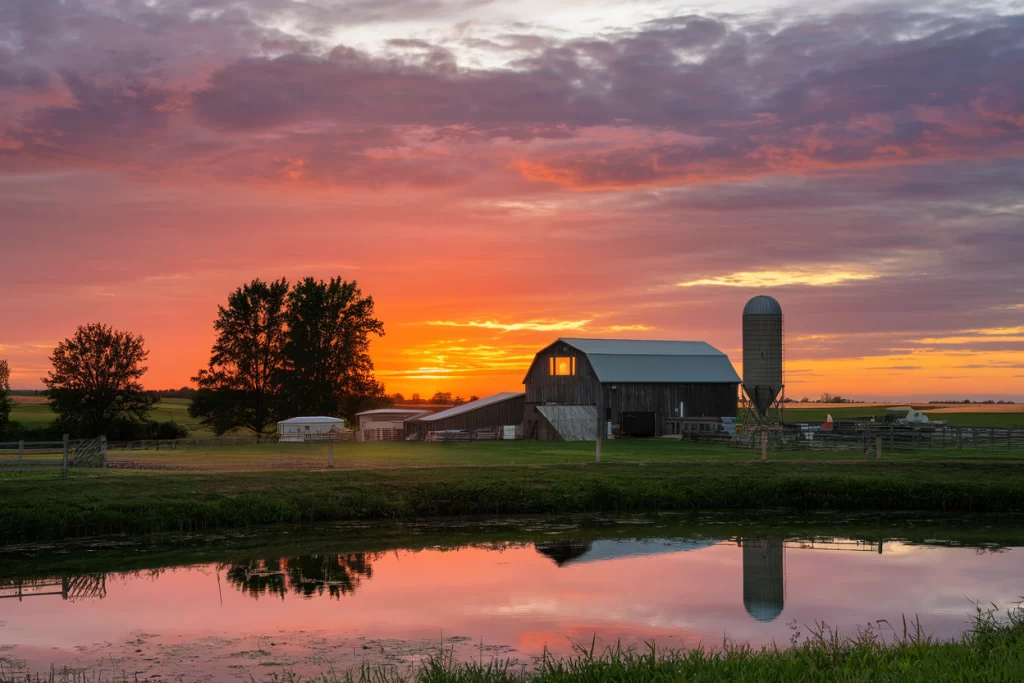
Remember that weather plays an essential role. Some cloud cover can help reflect the sunlight, creating more vibrant colors. However, clear skies or heavy clouds can also provide their own unique backdrop.
4. Camera Gear Essentials
You don’t need an expensive camera to capture beautiful sunsets. Many modern smartphones have excellent cameras capable of producing high-quality sunset shots. However, if you’re using a DSLR or mirrorless camera, here’s a list of gear to consider:
- Camera: A DSLR or mirrorless camera with manual settings will give you more control over exposure and focus.
- Lenses: Wide-angle lenses (16-35mm) are excellent for capturing expansive landscapes, while telephoto lenses (70-200mm) allow you to zoom in on distant elements of the scene.
- Tripod: A tripod helps stabilize your camera, especially when using slower shutter speeds in low-light conditions after sunset.
- Filters: Polarizing filters can reduce glare and enhance the color of the sky. Neutral density (ND) filters can help control exposure in bright conditions.
- Remote Shutter Release: This tool helps avoid camera shake when pressing the shutter button.
5. Camera Settings for Sunset Photography
Achieving the perfect sunset shot requires adjusting several camera settings, and you may need to tweak them during the course of the shoot.
- Aperture (f-stop): A smaller aperture (f/8 to f/16) is recommended for wide depth of field, ensuring that both the foreground and background are in focus.
- Shutter Speed: A faster shutter speed (1/250s to 1/500s) will help freeze motion, like the movement of clouds or water. For more creative effects (like smooth water), use a slower shutter speed.
- ISO: Set your ISO to the lowest possible setting (ISO 100 or 200) to avoid noise and maintain image quality. Increase ISO only if the light gets too low.
- White Balance: Set your white balance to “Cloudy” or “Shade” to enhance the warm, golden tones. Experiment with adjusting the white balance manually to get the exact look you want.
- Focus: Set your focus to manual to avoid autofocus errors as the light changes. Focus on a point in the distance to get a sharp, clear image.
6. Composition Tips for Sunset Photography
Good composition can turn a simple sunset shot into a stunning photograph. Here are some techniques to consider:
- Rule of Thirds: Position the horizon either in the upper or lower third of the frame, rather than centering it. This creates a more dynamic and balanced image.
- Leading Lines: Use natural lines like roads, rivers, or shorelines to lead the viewer’s eye into the image and toward the sunset.
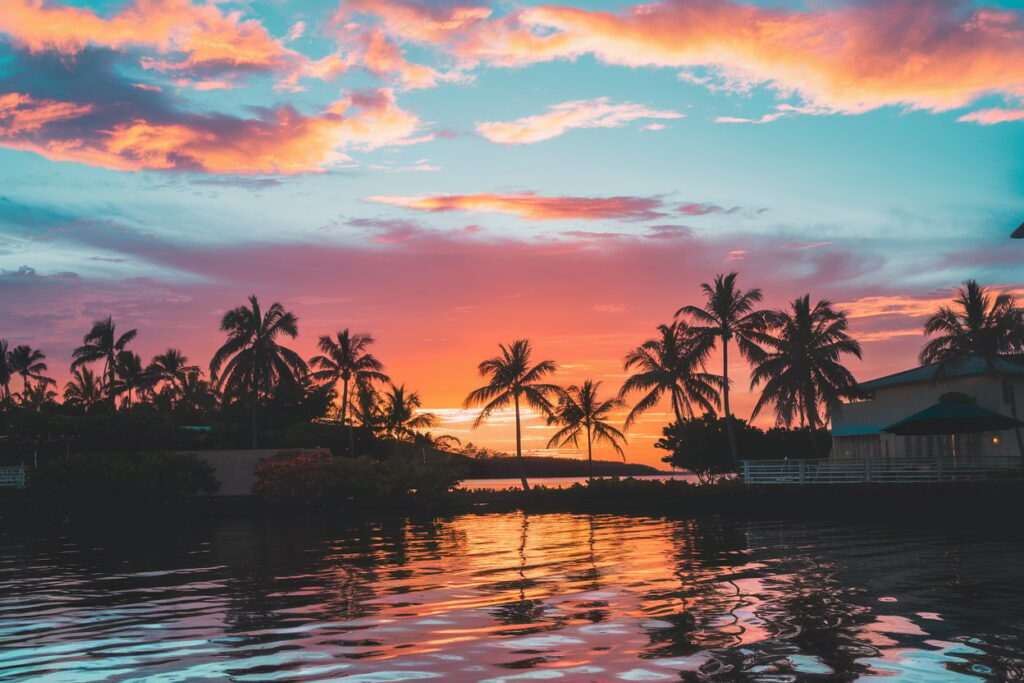
- Silhouettes: Silhouettes of objects such as trees, buildings, or people can create a striking contrast against the glowing sky. Just make sure your subject is dark enough to maintain the silhouette effect.
- Foreground Interest: Including an interesting foreground element, such as rocks, plants, or people, adds depth and context to your photo.
- Reflection: Water surfaces like lakes or oceans offer beautiful reflections of the sky and sun. Use the reflection to add symmetry and balance to your composition.
7. Creative Techniques for Sunset Photography
Once you’ve mastered the basics, you can experiment with more advanced techniques to create truly unique sunset images.
- Long Exposure: A long exposure (using a slower shutter speed) can turn moving elements like clouds or water into smooth, ethereal textures, adding a surreal feel to your photos.
- HDR (High Dynamic Range): When shooting scenes with very bright and dark areas, use HDR techniques to combine multiple exposures and preserve details in both the shadows and highlights.
- Time-Lapse Photography: A time-lapse video captures the entire transition from daylight to sunset in a short video, showing how the colors and lighting shift over time.
- Sunburst Effect: To capture a sunburst (rays of sunlight radiating outward), use a small aperture (f/16 or smaller), and position the sun partially behind an object, like a tree or a building.
8. Post-Processing for Sunset Photography
Post-processing is where you can fine-tune your sunset shots to bring out their full potential. Use editing software like Adobe Lightroom or Photoshop to make the most of your image.
- Adjust Exposure: If your shot is too bright or dark, use exposure sliders to correct the image.
- Enhance Colors: Increase the vibrancy and saturation to bring out the rich tones in the sky, but avoid overdoing it to keep the shot looking natural.
- Contrast and Clarity: Adjust contrast to make the colors pop. Increasing clarity slightly can sharpen the details in your image, but be careful not to create too much noise.
- Gradient Filters: Use gradient filters to balance the exposure between the bright sky and the darker landscape.
- Crop and Straighten: Make sure the horizon is straight, and crop out any distracting elements that detract from the focus of your image.
9. Common Mistakes to Avoid
While sunset photography can be a rewarding experience, there are a few common mistakes to be aware of:
- Overexposure: Sunset photos can easily become overexposed because of the bright sun, so always check your exposure settings.
- Not Waiting for the Perfect Moment: The light can change quickly during a sunset, and sometimes the best shot occurs after the sun has dipped below the horizon, so be patient.
- Ignoring the Foreground: A sunset shot can be stunning, but it’s even better when you have an interesting foreground to complement the sky.
- Over-editing: While post-processing is important, it’s easy to get carried away with enhancing colors or adjusting contrast. Keep the look natural.
10. Final Thoughts
Capturing the perfect sunset shot takes practice, patience, and a deep understanding of light. By combining technical skill, creative composition, and a bit of trial and error, you can create stunning images that capture the fleeting beauty of the setting sun. Whether you’re photographing sunsets for artistic purposes or just as a way to document nature’s beauty, these tips will help you take your sunset photography to the next level. Happy shooting!

